From Blogging Games
I did it. I’ve beaten all of the purely turn-based, grid-based Might and Magic games. Well, I did it with the older ones at least. I understand Might and Magic 10 goes back to that style, to a moderate degree. After a long break from the series, a few weeks ago, I decided to give game #6 a try. I’ve already played for a good bit and I’d like to focus on enjoying the game instead of writing about it, so this wan’t be a play-through diary. Instead, I’ll go through the game for a bit, to explain what it’s all about, and then just play through a single dungeon and the quests it involves.
But first, opinion time.
After playing for about a dozen hours, that’s my conclusion. Might and Magic 6, while being completely different in play style, or even genre/sub-genre, is still very much a Might and Magic game in everything else.
Previous games in the series are constantly being referenced with monsters, spells, location and character names.
The general play style is still the same. Sure, you have an excellent auto-map, but the dungeons are now huge, so the same approach of getting in, exploring for a bit and retreating to recover is still how you play the game.
There are items and objects that permanently increase your statistics. There are keys, hidden doors and puzzles. Everything that made Might and Magic what it was up to this point is still present in Mandate of Heaven. It’s just been made slightly more modern.
Some history
We just loaded up the game, and we’re in Castle Ironfist, in front of a random house. We got here from the region around New Sorpigal, where we cleared a few dungeons already and earned ourselves some equipment, gold and levels.
When we got here, I immediately went to an archery trainer to train everyone in the party in the use of bows. Why? Because ranged damage is overpowered in Might and Magic 6. You can get through most encounters by walking backwards and firing missiles or spells.
The plan
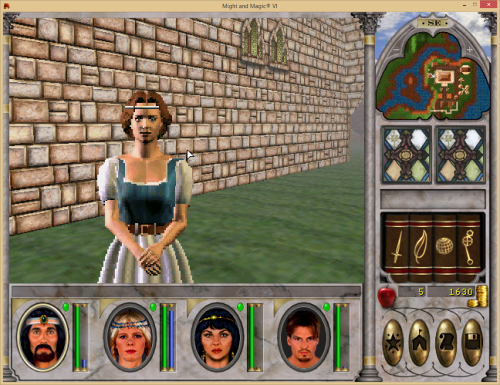
There’s a woman in front of us we can talk to.
The type of NPC we see here is the most common in the game – a potential traveling companion. We can hire her and she will provide a party-wide bonus of some sort.
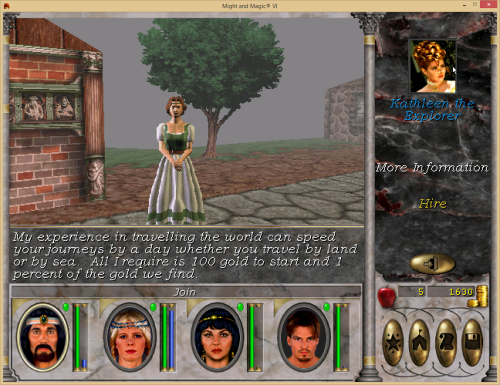
For example, a woman named Kathleen will join us for an initial cost of 100 gold and 1% share of all gold we find. In return, she’ll speed up our travel time. We don’t have any companions yet, but travel time is not the best bonus out there, so we decide to pass on the opportunity. Before we go to the next dungeon, though, I’d like to find a good companion to take with us.
I quickly search through the castle area, but only find one companion worth taking.
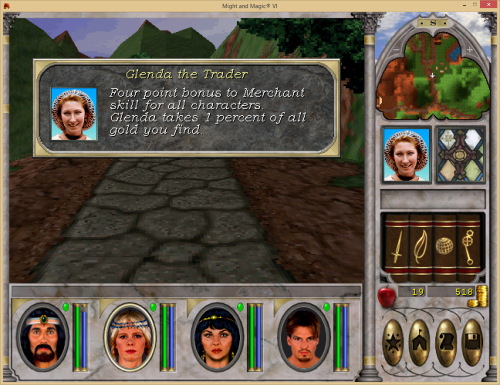
Glenda will improve our prices with the merchants, which is a good overall bonus to have. She does this for the same price and loot share as Kathleen.
It’s time for us to leave the castle area and go tackle one of the nearby dungeons. I already explored the overworld, so I have my pick of the litter, as they’d say.
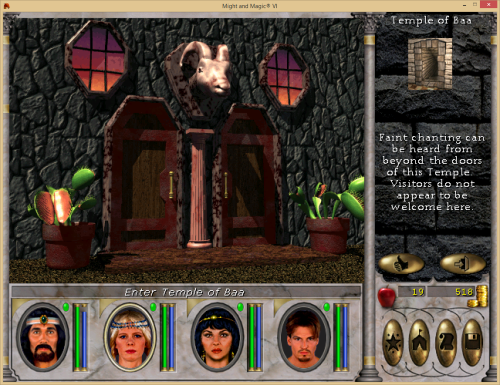
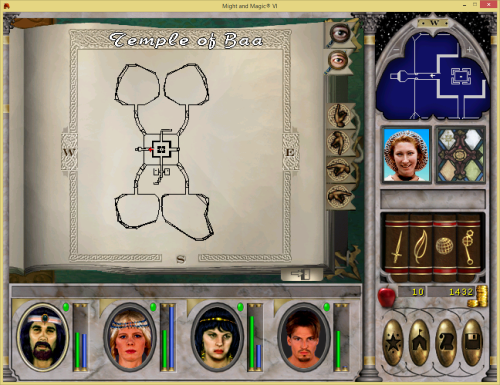
The Temple of Baa is sort of nearby, so we go there. We can soon see it in the distance.
The entrance to all of the dungeons I’ve encountered up to this point is a nice screen with some animated art and a confirmation prompt to actually enter the dungeon. We might as well go in.
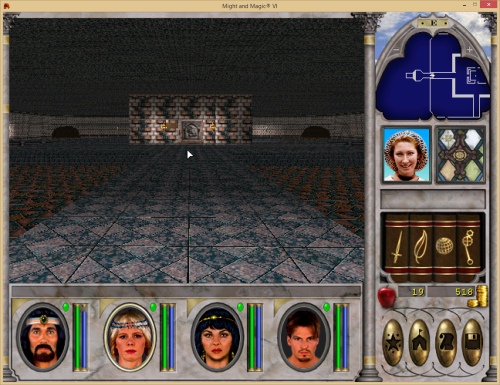
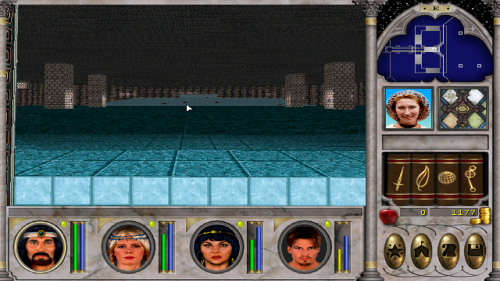
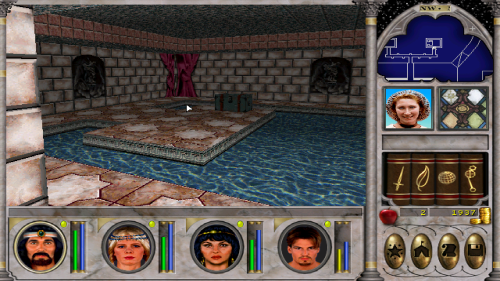
The first room is empty and uninteresting. The second room is huge, but it also seems to be empty for some reason.
On a sidenote, there’s this feature where your party characters sometimes say things depending on their surroundings. I’ts not very complex, but it adds atmosphere to the game.
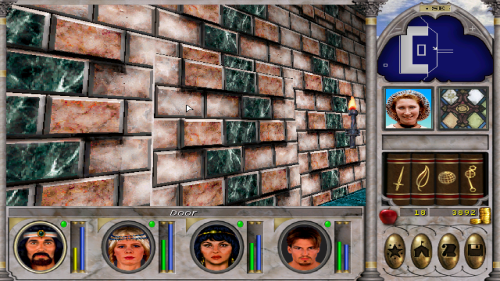
As I’m opening the door to the second room, one of the female PCs, I’m not sure which, says she has a bad feeling. I share the sentiment. All of the dungeons I’ve been to until now have been filled with enemies. I’m expecting a trap.
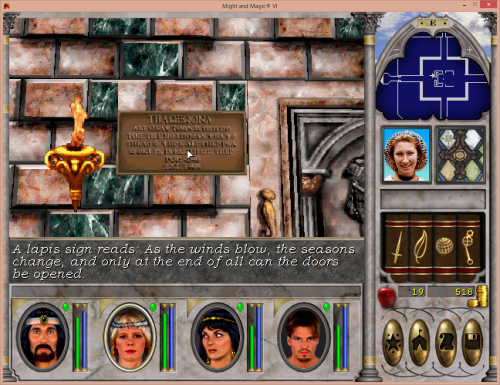
There isn’t one, though. The central wall has a puzzle involving the four seasons of the year. There’s are four walls, a door on each one and a sign of a specific material next to each of those doors. The sings are copper, silver, lapis and wood and they all say:
As the winds blow, the seasons change and only at the end of all can the doors be opened.
Usually with these puzzles, the hint is not the entirety of the solution, but more often than not, the whole solution is hidden within the dungeon itself.
Since I can’t touch the four doors without getting hurt, I decide to explore the side rooms instead.
The southeastern cave
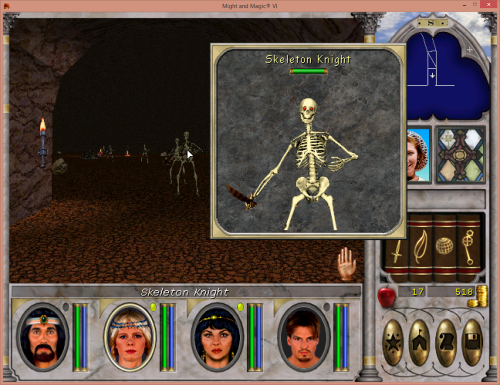
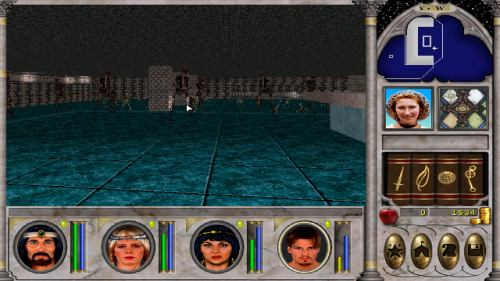
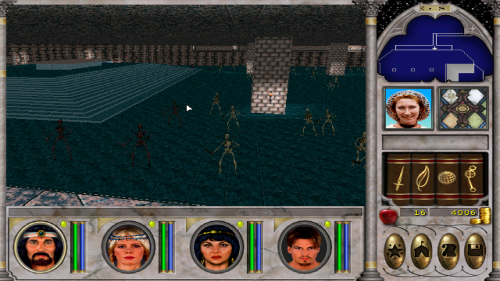
One of the tunnels leads me to a cave with skeletal knights. At this point, I decide to give the turn-based battle mode a try.
Up to this point, I sometimes gave turn-based mode a try, but ended up relying on the cheap backpedal and fire strategy.
As I said, Might and Magic 6 is a game where ranged damage is extremely overpowered. On the other hand, melee combat tends to be difficult. All of your characters can get hit, the casters don’t have a lot of health and healing means you’re not spending magic to do damage. Because of that, the superior strategy really is to just backpedal and shoot.
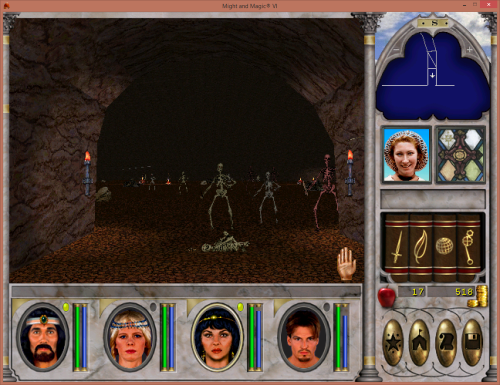
In this case, the point where I’m considering the backpedal approach is when I notice there are skeleton lords in the cave as well. They’re the red ones on the screenshots.
I decide against it, though, and the battle is actually quite fun in turn-based. I can always backpedal later if I want to.
I continue clearing this cave. There are mostly skeletons, mixed in with a few spellcasters, as well as trapped loot.
The positive result of exploring this southeastern area of the temple was that I got about 1000 gold pieces total, a dagger, a solid amount of experience, and 1 food. The negative? Roderick, the Paladin, died while searching through a pile of skulls. Alexis, the Archer, was slightly less unlucky – she got cursed by a cleric and then went insane while searching through another skull pile.
Overall, the net result was that I had to retreat out of the dungeon and go to Castle Ironfist to heal and refill my food supplies.
Next up, the southwestern passage.
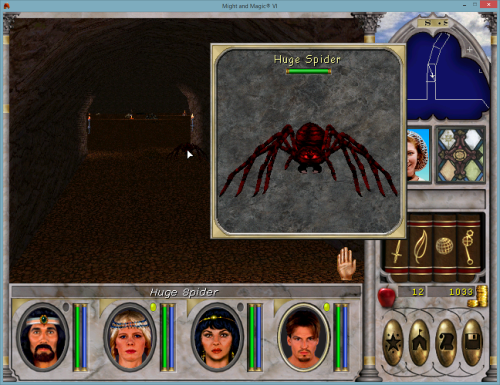
This one has spiders.
Spiders seem to die more easily, but they can also poison you, which makes resting in order to heal a problem.
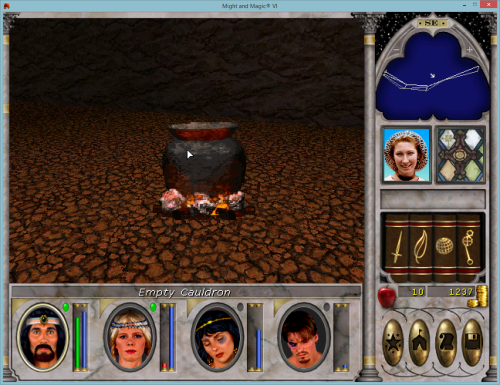
I clear this cave as well. A Priest of Baa was giving me the most trouble, but the reward was worth it, in my opinion. There were 3 cauldrons, each giving one point of permanent magical resistance to whoever used it. Roderick, the Paladin, was the recipient of all 3 bonuses.
As you can tell from the screenshot, the battle against the priest took at toll on the party.
As before, I had to return to Castle Ironfist before tackling the next part of the dungeon. The difference this time was that some of my characters had enough experience to get to the next level, meaning I’ll be stronger when I come back.
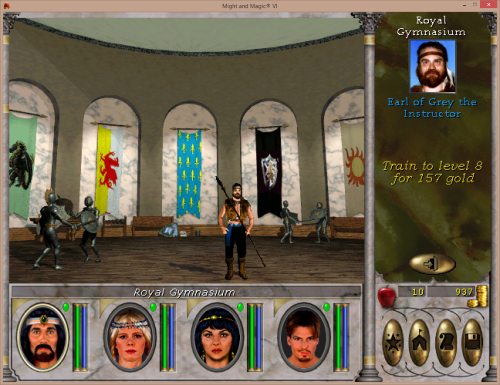
As with previous games, you go to a training center in a town in order to level up. The difference here is that for each level, you also get points to increase the power of your skills.
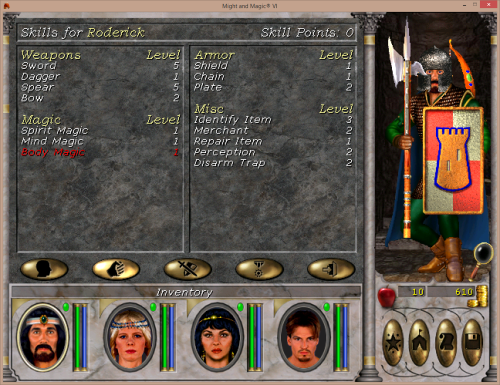
Each class in Might and Magic 6 has certain skills they can start with and certain skills they can learn within the game. There’s a good amount to choose from, put the points are limited, so you can’t just master everything.
Well, technically you could, since the level cap is non-existent, but you probably wont over the course of a single game.
In this case, Roderick started out with swords, then decided to give spears a try. Other than that, he didn’t really do much.
Let’s speed things up a bit, shall we?
In the interest of time, I’ll just say that the northeastern and northwestern caves also contained spiders and skeletons. I got about 500 more gold, a magical dagger I’ll be selling and a further increase in magic, as well as fire resistance for Roderick.
I did not, however, get any closer to solving the puzzle, so it was time to explore the non-cavernous area of the dungeon.
The eastern wing
I go for one of the side passages, to the north, but the doors there are all locked. I move on to the eastern wing, which immediately shows promise.
As I open the door to the eastern wing, a fireball hits me in the face. It’s a trap that keeps launching fireballs through the corridor. Luckily, the corridor is wide enough for me to avoid it, so it was only the initial element of surprise that got me.
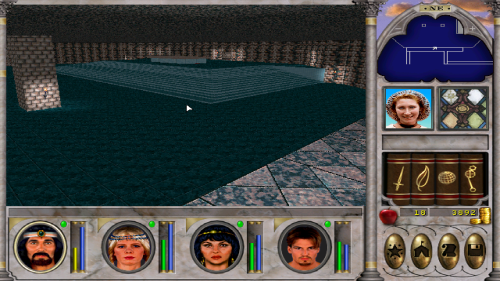
After climbing a set of stairs and fighting some clerics, I get to a large room with a huge altar. The clerics and priests there are manageable, but the size of the room and the low number of enemies creates another one of those “I have a bad feeling about this” situations.
This time, I was right. Trying to collect an item of the altar, which is the objective of a quest I have, summons a huge group of skeletons and clergy. It’s way to difficult for my party to clear right now. Heck, even getting near the altar at all triggers the trap.
I decide to postpone this for now and explore the remainder of the dungeon first.
The southern wing
The last wing I haven’t visited also has a set of locked doors.
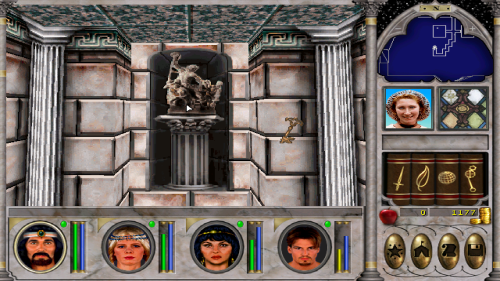
This time, however, there is also a long winding passage that ends with a statue.
Searching it gives me a key which opens one of the doors, leading to a treasure room.
It also summons a respectable group of enemies which I need to clear, but at least that’s part is doable, compared to the altar room.
The chest, other than being trapped, contains the Bathhouse Key. I have no idea which one of the rooms is the bathhouse, but we can always try them all.
It ends up opening one of the rooms in the northern wing, which really does look like a bathhouse, and contains another chest, this time with the Storage Key.
The Storage Room is in the southern wing and doesn’t look that much different than the first room I unlocked. The chest there summons more enemies and contains the Secret Door Key.
Now this is where I run into a problem. The last remaining door doesn’t open with the new key. Based on the item name, it’s obvious what kind of door it has to be, but I look everywhere and can’t find it.
I guess that means it’s time for a big fight at the altar room.
The altar room
I clear out the few remaining clerics and priests and carefully loot all the corpses without triggering the altar trap.
Just as I’m about to get ready for the big battle, I notice something behind the altar.
If that’s not a secret door, I don’t know what is.
The door opens a passage which leads me to the two otherwise unreachable walkways at the northern and southern edges of the altar room. This will be extremely convenient to at least pick off the melee monsters that get summoned from a safe distance.
I reach two conclusions from this:
- I’m supposed to rely on ranged attacks
- The reward for solving the key puzzle was mostly to make the big battle at the altar room easier.
Time for the big fight.
I go to the altar and try to pick up the item, except it’s not an item, it’s just a gong. Curse you, ancient computer graphics!
My goal is the same, though. I ring the gong and make a run for it through the secret passage and to the northern walkway. When I get there, I realize it’s better than I thought.
All of the enemies are skeletons, so they don’t have ranged attacks.
It takes a while, but I clear them without any difficulties.
I take the gong (it actually was an item) and now I’m confused.
The quest I’m on requires me to find a Chime, not a Gong.
Right now, there are two hidden passages, one on each of the altar walkways, but both are locked. There is also the the season-themed puzzle in the grand hall near the entrance. Since I don’t have anymore keys, my only option is to solve the puzzle. The thing is, at this point, I’m considering a few possibilities.
- I need to find something outside the temple to solve the puzzle – this is often the case in the Might and Magic series, but it’s also more often the case that I think that’s what I need to do and I just miss something within the dungeon.
- I need to find some more hints within the temple – good change this is the case, but how do I know?
- The puzzle itself offers enough hints.
- I could just go with trial and error.
I decide to give it a go with option 3, but end up relying on option 4 to “solve” it. I knew the puzzle’s theme are the seasons of the year and I knew the four signs are made up of four different materials. My logic was to assign colors to seasons, but I couldn’t for the life of me figure out the solution that way.
I gave all the combinations a try and the correct order was wood, lapis, silver, copper. Luckily with puzzles like this one, there’s a limited amount of combinations anyway.
The room contained another treasure chest and summoned another group of monsters, except this one was meaner and nastier than any before.
Once I finally cleared it, I got one more key, to the second bathhouse room.
Once more, there was a group of monsters, as well as another key. Let’s cut it short again, though, shall we?
One of the two remaining rooms contained the Chime of Harmony.
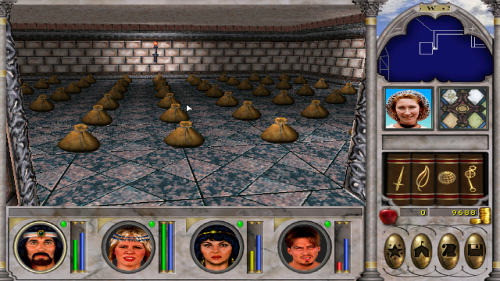
The other contained gold.
It was about 10,000 gold in total, actually.
Now it’s off to New Sorpigal to get that quest finished and then I’m going to waste all the gold on something fun. I’m not sure what, yet, though. Probably training.
So there it is.
That’s one, simple, early dungeon in Might and Magic 6. Sure, writing this down as I’m playing slowed me down significantly, but even when purely playing, dungeons in this game seem to take hours to beat.
Hours I’m loving every minute of.
I hope you liked it to.
Related Posts:
Original URL: http://addictedgamewise.com/might-and-magic-6-playing-through-the-temple-of-baa/

