From The CRPG Addict
 |
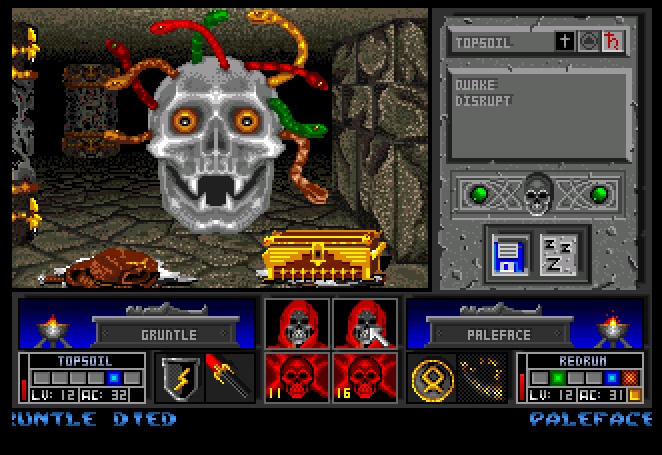
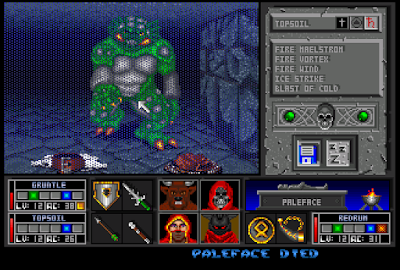
| The game’s take on “Medusa.” |
What I surmised in the last entry turned out to be the case: Level 13 was a hub, with four teleporters leading downward to four collections of levels, each culminating in a battle with one of Estoroth’s lieutenants. Defeating each lieutenant provides the keys necessary to enter a secret area and collect one of the four artifacts necessary to defeat Estoroth himself. At the beginning of the game, I had thought that the collection of the artifacts was the game’s sole quest, but eventually it became clear that the whole thing would end with the party employing the artifacts in a battle with Estoroth.
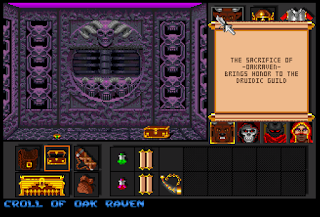 |
| Each teleporter brought me to a hero’s tomb–eventually. |
I had already defeated the Ram Demon last time. Choosing another teleporter at random, I next found myself in the domain of something called The Possessor. I had to run around collecting three crowns to place on a kind-of skull mural. This gave me the key necessary to get into The Possessor’s lair.
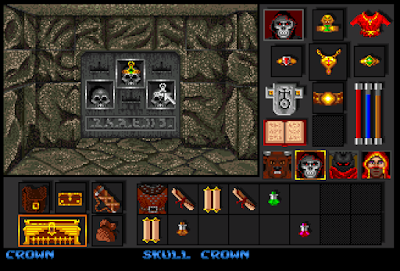 |
| Crowning the skulls. |
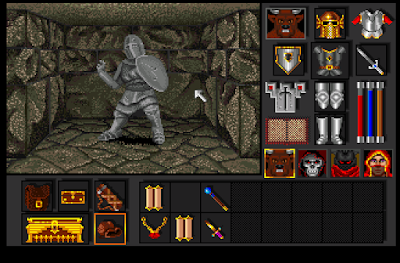
The area was full of flaming golem-looking creatures, and when I finally encountered The Possessor, I just thought he was another one of these. The other flaming golems had been difficult, so the moment I saw him I just blasted him with my most damaging spells until he died. I thus didn’t even bother to grab a screenshot of him. After defeating him, I learned that his name comes from his ability to possess party members, a fate that I didn’t experience.
 |
| Not The Possessor, but he basically looked like this. |
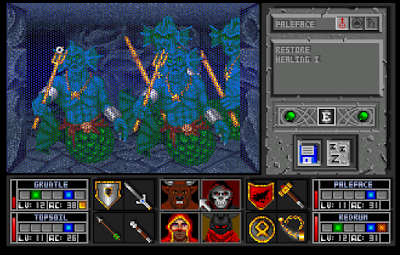
The next teleporter led me to Level 21, which was entirely underwater. Characters take damage every turn while underwater unless they can breathe it. Fortunately, I’d found a few items that let characters breathe water, including Helms of Triton and Rings of Water Breathing. There were also numerous Potions of Water Breathing scattered around the level. The bigger issue was that a lot of spells–particularly fire-based spells–didn’t work in the environment.
 |
| The tritons were easy but numerous. |
Enemies were tritons and some kind of weird fish. The party had to find a number of magic pearls and stick them in clamshells to open the paths to the Water Lord, a fish-looking creature with a devastating blow. By this time, I was trying to burn through a number of magic items I’d collected, including a horn capable of casting the “Quake” spell. It only took a few blasts and a couple of melee attacks to kill him.
 |
| Those memorized fire-based spells aren’t going to do much good. |
Although I didn’t plan it this way, I saved the most difficult for last. The Medusa was the last lieutenant. It roams a large area of Level 24. It has a magic attack that can stone characters and that seriously damages them otherwise. It is also impervious to any weapons or spells that you have when you arrive. Other creatures in the area are ghostly skulls that disappear and reappear behind you in the middle of combat. They respawn like mad.
 |
| Other adventurers preceded me. |
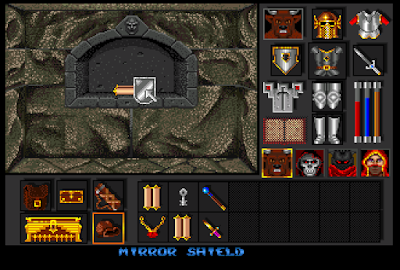
To kill the Medusa, I had to find my way to a lower level and get a Mirror Shield, then–and this took me a long time to figure out–employ it as a weapon rather than a shield. The Medusa died in one blow after that.
 |
| I didn’t think you were supposed to kill medusa with a mirror shield. I thought you were just to look in it while you beheaded her. |
When I had collected the final items in the Medusa’s lair, I realized I had a problem: I had no idea which of the many items I had were the four “artifacts.” I had collected a bunch of things that sounded like they
could be, including the awesome “Doom Hammer,” a weapon that takes a long time to cool down but does about 10 times the damage of of a normal weapon when it connects. It turned out that the four artifacts are a staff called Soulfreezer, a shield called Protector, a hammer called Forcehammer, and a sword called Vortex, but I had to look it up.
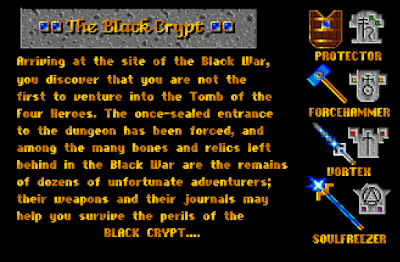 |
| I had forgotten that they were all listed in the backstory. |
While I was trying to figure this out, a worse problem emerged: My game somehow got corrupted. It started insisting that the disk on which the saved games were stored was write-protected. I decided to try to push through to the end using emulator save states, but unfortunately the game insists on saving when transitioning between certain levels, and I can’t get out of the Medusa area without triggering one of those saves. It’s somehow the game itself that’s corrupt, not the disk. If I try to start a new party on the same disk, it works okay. If I try to create a new save disk, on the other hand, the game-in-progress still won’t save to it, insisting that it’s write-protected.
I thus now face a decision between starting completely over with a new party and hoping it doesn’t happen again and just looking up the endgame from someone’s “let’s play.” I’m inclined to start over because I have this idea that with the maps already created, I can probably shave a lot of time off of a replay. Also, I peeked ahead to the final areas in the hint section of the manual, and it appears that there’s more complexity than just a final battle.
While I ponder that, two more notes:
1. The puzzles got a little annoying. Too many of them seem to rely on hidden pressure plates (i.e., they’re invisible and make no sound or notice when you step on them). I had to dip into the hint section a few times to verify that what I had mapped as a wall was really now open because of a hidden plate, and I wasn’t just crazy the first time. There was one area that required walking over a hidden pressure plate 7 times before an exit would open. As far as I’m concerned, that’s just an unfair puzzle.
2. I continue to be irked by the lack of item descriptions and statistics. This is one issue that Dungeon Master variants seriously need to solve. If I’m already carrying a sword called “Evil Smiter” and I find a new sword called “Demon Basher,” there ought to be some way to tell which does more damage (and what else the swords do) other than experimentation, which may or may not tell you anything useful. Yes, yes, I know–every time I say that, commenters come out of the woodwork to say that they love recording thousands of attacks to figure out which sword has a higher “to hit” rate and which does 1d6+2 damage versus 1d8+1 damage. They love it because it’s so “realistic,” because in real life you wouldn’t be able to tell the value of a weapon numerically, never mind that you wouldn’t be able to tell your attributes or hit points either, nor that the entire point of an RPG, going back to the first tabletop editions, is to carefully manage a set of statistics.
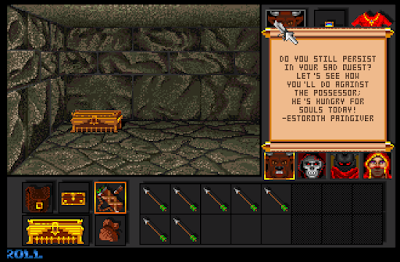 |
| Estoroth continued to taunt me. |
The next entry on Black Crypt will either be the rating, based on video of someone else winning, or a recap of a new party’s adventures.
Time so far: 26 hours
Original URL: http://crpgaddict.blogspot.com/2019/01/black-crypt-core-of-corruption.html